
How to Set Up Facebook Authenticator: Step-by-Step 2FA Guide
Published September 15, 2026
By the Authenticator App Team
Enable Facebook’s authentication-app method, add its QR code or setup key to your authenticator, and confirm a generated code. Complete these steps from the Facebook account you intend to protect, then save the recovery options offered by the service.
This guide explains how to set up Facebook authenticator when you can already access your account. If you are locked out and do not have the existing code entry, use a previously configured recovery method or Facebook’s recovery process first; a new installation cannot recreate the missing secret.
The instructions cover preparing your devices, choosing the correct account, adding the entry, verifying success, and checking the setup before you rely on it. Keep your current signed-in session available until the new authentication method is confirmed.
Prepare Before You Change Facebook Security
Have a Compatible Authenticator Ready
Install the authenticator you intend to keep using from a verified source. Facebook’s official help describes using a third-party authentication app, so the app does not have to carry Facebook’s name. Check that it supports the enrollment method offered in your account and that you understand its device and recovery requirements.
Before learning how to set up Facebook authenticator, decide whether you want to use a computer and phone together or complete the process on one phone. A computer makes a QR easy to scan, while a single-phone setup may be more convenient with a manual key when the service provides one.
Keep Existing Access and Recovery Available
Make sure you can complete any verification Facebook requests before changing a security method. Keep a working session open and have any existing registered factor available. Do not remove a current method simply to make the setup screen look like the pictures in a tutorial.
Prepare a private place to save recovery information. A note stored only on the phone that will hold the authenticator may not help if that phone is lost. Consider how you would retrieve the backup without relying on the same device.
The preparation stage of how to set up Facebook authenticator is complete when you have the intended app, access to the right account, and a practical recovery location. This prevents a common interruption: reaching the secret-entry screen and then leaving the setup unfinished while you search for another device or decide where to store sensitive information.
How to Set Up Facebook Authenticator in Account Settings
Select the Right Facebook Identity
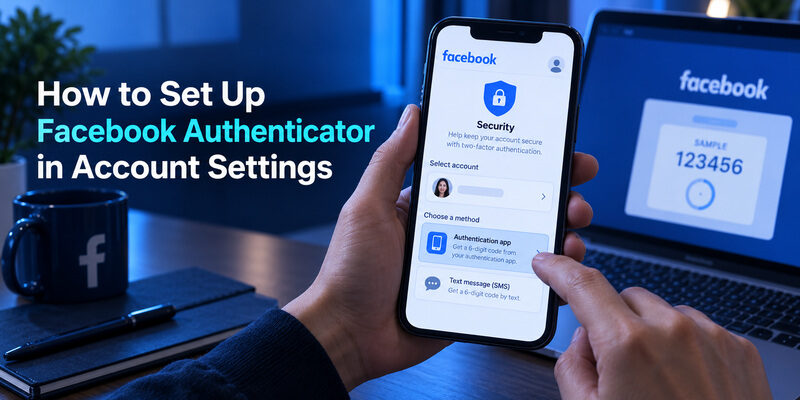
Open Facebook’s settings and locate its account-security controls. Indexed Facebook Help Center instructions refer to Accounts Center, Password and security, and Two-factor authentication. Some accounts may display Meta Account settings instead. Follow the current security path presented in your session and select the intended Facebook identity.
If several accounts appear, pause before continuing. How to set up Facebook authenticator for one account is not the same task as enabling it for every identity in an account-management area. Confirm the account details rather than relying only on a familiar profile image.
Choose the Authentication-App Method
Select the authentication-app option offered in the two-factor settings. Complete any existing identity check the service requires. The account should then provide enrollment information for the app, such as a QR code or setup key.
Do not substitute an email code or a password-reset value for that enrollment information. Each item belongs to a different step. If the screen is asking for a code from an app you used previously, you may be managing an existing method rather than starting a new registration.
As you follow how to set up Facebook authenticator, keep track of whether the service is adding, replacing, or verifying a method. That distinction affects what should remain available afterward. Read the account’s own prompts before confirming a change, and avoid opening multiple parallel setup flows that can leave you uncertain which secret belongs to the final registration.
Add the Secret Using the Method That Fits Your Screens
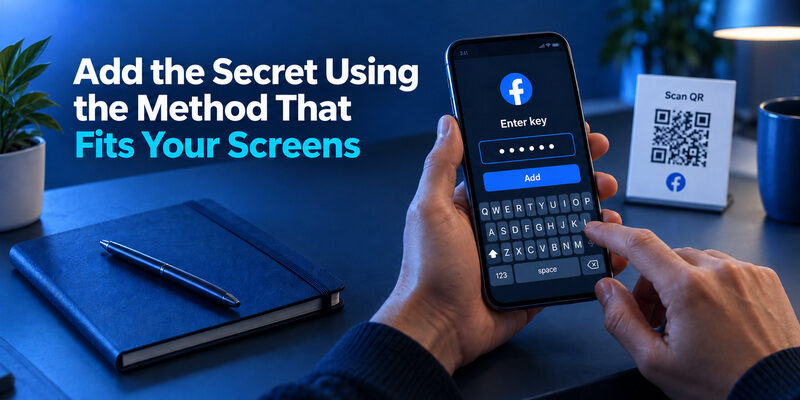
Choose the input method before exposing the secret on screen. If you plan to scan, open the app’s scanner first. If you plan to type, locate the key-entry control and check that you understand the requested fields. This small preparation reduces the chance that you abandon the enrollment halfway through or create unnecessary screenshots while searching for the right control.
Scan a QR From a Second Screen
On the phone, open the authenticator’s add-account scanner. Display Facebook’s current enrollment QR fully on the other screen and allow the camera to focus. Keep the border visible and reduce glare rather than moving so close that the image becomes blurred.
Enter the Key on a Single Phone
If a manual setup key is offered, add it through the app’s key-entry option. Copy the entire value accurately and select the requested account type. This is often the clearest answer to how to set up Facebook authenticator without a separate computer.
| Your arrangement | Practical input method | Check before continuing |
|---|---|---|
| Computer plus phone | App’s QR scanner | Entire current enrollment QR is visible |
| One phone | Manual setup key when offered | Full key copied to the correct field |
| Camera problem | Manual key or improved display | Secret remains private during troubleshooting |
After you add facebook authenticator information, inspect the new entry’s label. The app should begin showing verification output, but that is not yet proof that Facebook accepted enrollment. Leave the account setup open for the next step.
When explaining how to set up Facebook authenticator to someone else, guide the actions without asking to see the secret. Screen sharing, screenshots, and QR-decoding websites create additional copies of sensitive material. The account owner can perform the private scan or key entry while you explain what a successful next screen should accomplish.
Prove the New Entry Works Before Closing Setup
Send a Fresh Verification Code
Return to Facebook and enter the code from the entry you just added. If only a moment remains on its timer, wait for the next one. Prepare the input field before copying and include leading zeros. On a single phone, app switching can use more time than you expect.
The decisive step in how to set up Facebook authenticator is the service’s confirmation. A rotating number only proves that the app holds some enrollment data. Facebook accepting the number proves that the data matches the registration you are completing.
Confirm the Account and Successful State
Wait for the flow to show that the method is enabled or that setup succeeded. Check the selected account again if you manage several identities. Keep the current browser or app session open while you review recovery options and label the entry.
If verification fails, first check the account, the code’s age, and whether you imported the current setup secret. Repeatedly restarting enrollment can create entries from different attempts. Avoid deleting them until you have identified which registration is actually active.
People searching how to add facebook authenticator code sometimes mean adding the secret, and sometimes mean submitting the temporary number. Keep those actions separate: the secret goes into the authenticator, while its output goes back to Facebook. Understanding that distinction makes how to set up Facebook authenticator much easier to complete without circling between the same two screens.
Save Recovery Codes and Check Your Backup Route
Preserve the Service’s Recovery Options
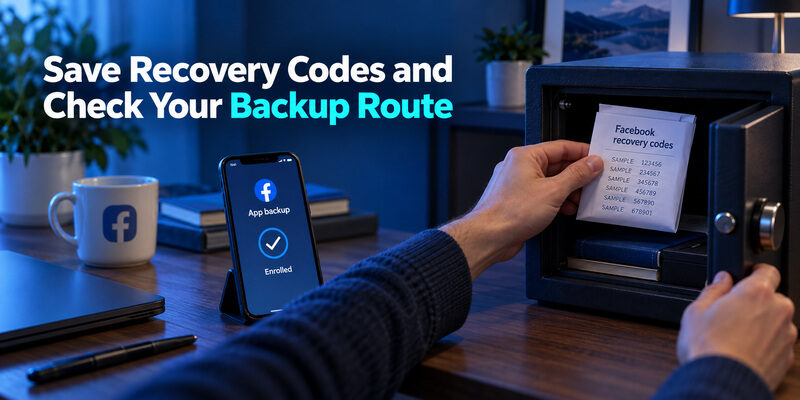
After enrollment, review the recovery options available in Facebook’s two-factor settings. Facebook documents recovery codes for this purpose. Save the offered material securely, associate it with the correct account, and avoid keeping the only copy on the same device as the authenticator.
Knowing how to set up Facebook authenticator should include knowing how you will get back in when the phone is unavailable. A backup that requires unlocking that exact phone does not solve phone loss. Check the location and access requirements while you still have a working session.
Understand the App’s Own Backup Behavior
The authenticator’s backup or synchronization process is separate from Facebook’s recovery codes. Consult the documentation for the app and version you installed. Do not assume a general phone backup contains every authentication secret, and do not assume synchronization preserves entries that you deliberately delete elsewhere.
Label recovery material without exposing the underlying secrets. For example, you can identify the account and date in your private storage while keeping the codes themselves protected. Unexplained numeric lists are difficult to use during an urgent recovery, particularly if you have several accounts with similar names.
Before moving on from how to set up Facebook authenticator, describe your fallback in one sentence: what resource you would use, where it is stored, and how you can retrieve it without the primary device. If any part is unclear, resolve it now rather than treating the successful QR scan as the end of the task.
Make a Controlled Login Check
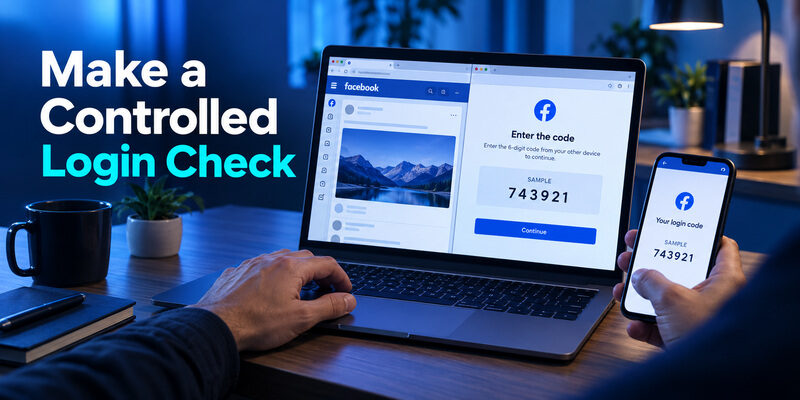
Once setup and recovery preparation are complete, check that you can recognize and use the new entry during an ordinary login. Keep the original working session available while testing an additional session on a device you control. Avoid signing out everywhere merely to force a challenge.
Facebook may choose different checks based on the account and session, so the absence of a code prompt on a familiar device does not prove that setup failed. Review the method’s enabled state and the confirmation you received. Use the authenticator when that specific method is requested rather than trying to force its code into another check.
For someone practicing how to set up Facebook authenticator for the first time, this controlled test is about usability as much as enrollment. Can you find the entry quickly? Is the account label clear? Can you copy a fresh code without confusing it with another service? These observations identify small improvements before an unfamiliar login becomes urgent.
Do not share the code while asking another person to watch the test. You can describe that the entry is visible and whether Facebook accepted it without revealing the number. The purpose of learning how to set up Facebook authenticator is a repeatable private verification process, not a demonstration that exposes its secrets. Keep the test simple and stop once the intended behavior is established.
Fix Setup Problems at the Stage Where They Occur
For example, if the app successfully adds an entry but Facebook rejects the confirmation, adjusting camera permission is no longer relevant. Conversely, if the scanner never opens, changing Facebook’s registered method is premature. Follow the evidence from the last completed step, and keep that successful part intact while testing the next one. This makes each attempt more informative.
QR or Key Cannot Be Added
Check that the QR belongs to authentication enrollment and that the authenticator’s own scanner is being used. Show the whole image, allow camera access for the scan, or use the manual key if offered. Do not upload the secret to a public decoding tool.
Code Is Added but Confirmation Fails
Check the selected account and test a fresh code with an accurate phone clock. If several setup attempts created similar entries, identify the one from the current enrollment. Renaming an old entry does not change its underlying secret.
Security Settings Require an Unavailable Method
If Facebook requires an existing factor that you cannot access, use another configured route or account recovery. That situation is no longer a normal how to set up Facebook authenticator task. A newly downloaded app cannot supply the old secret from your username.
| Failure point | What to inspect | Meaningful result |
|---|---|---|
| Adding the entry | QR purpose, key accuracy, scanner | Correct account appears in the app |
| Confirming enrollment | Current code and registered secret | Facebook accepts verification |
| Entering security settings | Existing verification access | Authorized method-management flow opens |
Keep a short note of which stage failed before changing anything. It helps you ask how to set up Facebook authenticator in terms of the actual obstacle rather than repeating the whole tutorial. Avoid clearing app data or deleting the only entry as a general troubleshooting step; those actions can remove material you still need.
Keep the Method Usable When Devices Change
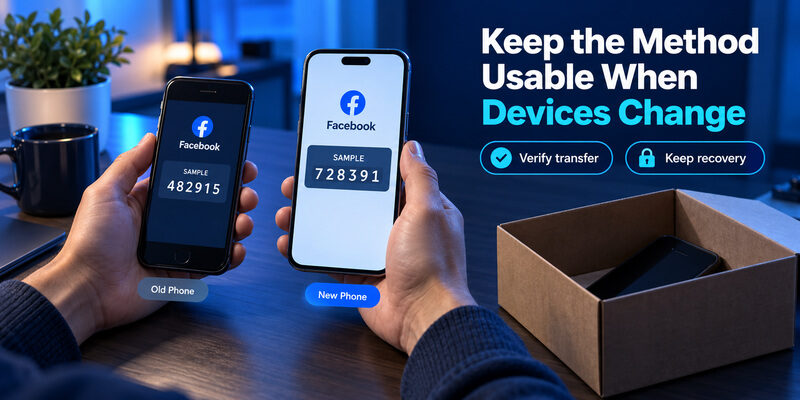
Plan Transfers While the Old Phone Works
Follow the authenticator’s documented transfer or restoration route before replacing the original device. A new phone can restore an app icon without restoring its secret entries. Verify a successful Facebook code on the destination before erasing or trading in the old phone.
Change Apps for a Specific Reason
If the current interface is difficult to use, is another OTP manager to evaluate. Its official homepage describes code generation and biometric protection. Check the installed version’s Facebook enrollment fit and recovery behavior before moving a working registration. It cannot remove a Facebook verification requirement or recover an unknown secret.
Learning how to set up Facebook authenticator again on another device does not always require a new account registration. A supported transfer and authorized re-enrollment are different routes. Choose the one that fits your app, account access, and reason for changing devices.
Keep account labels clear after the move, especially if temporary duplicates remain. Identify the entry used for the accepted verification before removing obsolete ones. Also revisit recovery material if its storage location or associated account has changed.
Use what you learned about how to set up Facebook authenticator to maintain the result: know which device holds the active entry, understand the backup route, and retain a way back that does not depend on a single phone. The initial setup is valuable only if you can still use and recover it later.
Frequently Asked Questions
How do I set up Facebook Authenticator on my phone?
Open Facebook’s security settings, go to Two-factor authentication, select your account, and choose the authentication app option. Facebook will provide a QR code or setup key. Add that information to your authenticator app, then enter the generated verification code back into Facebook to confirm the setup.
Where can I find the Facebook Authenticator QR code?
The Facebook Authenticator QR code appears during the authentication-app setup process in Facebook’s two-factor authentication settings. It is unique to your account and enrollment session. Do not use a QR code from Google Images, another person’s account, or a third-party QR generator.
Can I set up Facebook Authenticator using only one phone?
Yes. If Facebook provides a manual setup key, you can copy that key into your authenticator app instead of scanning a QR code from another screen. After adding the key, enter a fresh code generated by the app into Facebook to complete verification.
Why is my Facebook Authenticator code not working after setup?
A Facebook authenticator code may fail because it has expired, your phone’s time is incorrect, you selected the wrong account entry, or the authenticator contains an old enrollment. Try a fresh code first, confirm the correct account, and make sure your phone uses accurate automatic date and time settings.
How do I move Facebook Authenticator to a new phone?
Use the transfer, synchronization, or backup feature supported by your current authenticator app while the old phone is still available. Verify that the new device generates a code Facebook accepts before deleting the old entry or erasing the original phone.
What should I do if I lose the phone with my Facebook Authenticator?
Try a recovery method that you previously configured, such as Facebook recovery codes, another available verification method, an authenticator backup, or a device that is still signed in. If none of these options is available, use Facebook’s official account-recovery process. Installing a new authenticator app cannot recreate a missing 2FA secret automatically.
Final Thoughts
If the enrollment image remains confusing, the guide explains how to identify and protect the correct setup material.
If you are preparing instructions for a family member, explain which screen supplies the secret and which screen receives the generated code. Let them perform the private input themselves. A clear understanding of those two roles is more useful than memorizing a sequence of button names that may change with an interface update.
The complete answer to how to set up Facebook authenticator is to enable the app method for the correct account, import the supplied secret, and confirm a fresh generated code. Finish the service’s verification before closing the setup flow, then save the available recovery options securely.
Choose QR scanning when you have a second screen and use the manual-key route when it is offered and better suits your device arrangement. Keep the secret private in either case. A public Facebook QR, an email verification code, and an authenticator enrollment key are different items with different purposes.
If setup stops, identify the failed stage. A camera problem, rejected confirmation, and unavailable existing factor need different solutions. Preserve working sessions and useful entries while troubleshooting, and use account recovery when you cannot complete an authorized security change.
Knowing how to set up Facebook authenticator also means knowing how to maintain it. Use a recognizable account label, check an ordinary login without discarding existing access, and plan transfers before the old phone is gone. With those steps complete, you have an authentication method you can use deliberately and a clearer route back when your devices or account-access circumstances change.
Download Authenticator App
Secure your accounts with fast, reliable two-factor authentication. Download now and protect your login in seconds.