How to Add Email to Authenticator App With QR or Manual Setup
Published September 22, 2026
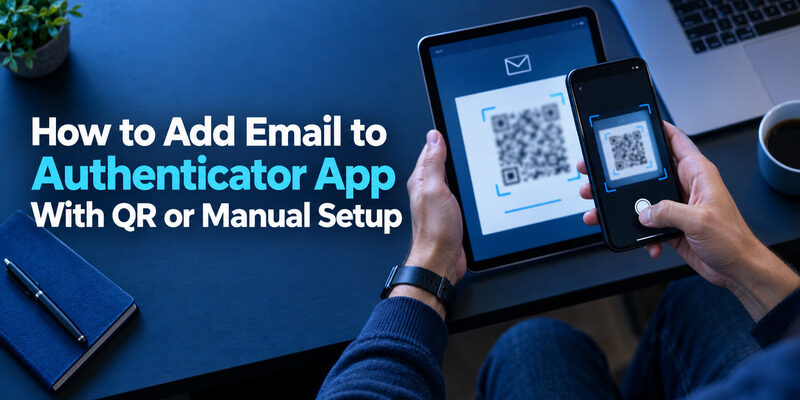
Enable authenticator verification in your email account’s security settings, then scan its QR code and confirm a generated code.
The email address identifies the account, but the provider’s setup secret creates the working connection. Typing an address into an app without that enrollment information will not make the provider accept its numbers.
This guide to how to add email to authenticator app covers the setup sequence, Gmail and Microsoft account differences, work policies, and safe removal of old entries. Begin while you can still sign in to the mailbox and keep a recovery method available. The process is complete only when the provider confirms enrollment and accepts the intended verification method, not when a new label first appears on your phone.
Check What Your Email Provider Supports
Find the account security controls
Open the email provider’s account website directly and locate its sign-in or security settings. Look for two-step verification, multifactor authentication, or an authenticator method. Use the options offered to that account, since personal and organization-managed identities may have different rules.
Before learning how to add email to authenticator app, confirm that the provider supports the method you intend to use. A mailbox address does not guarantee standard code enrollment. Some accounts use provider-specific approval requests, passkeys, hardware credentials, or administrator-controlled registration instead.
| Account type | Start enrollment in | Method constraint |
|---|---|---|
| Gmail | Google Account security | Offered Google methods |
| Personal Microsoft | Microsoft account security | Code or provider-specific flow |
| Work mailbox | Organization registration | Administrator policy |
| Other provider | Its own security settings | Confirm authenticator support |
Prepare the devices and recovery
Use a signed-in browser and a phone with your chosen app installed from its official distribution route. A second screen makes QR scanning easier, but a manual setup key can work when the provider offers it. Check that the phone has a reliable screen lock and correct date and time.
The practical first step in how to add email to authenticator app is preserving access while you enroll. Keep an existing session open and save the provider’s recovery codes or another independent method before retiring anything. If your only working method is on an old phone, keep that phone available until the new setup is confirmed. Avoid making several unrelated security changes at once; a smaller change is easier to test and reverse if the provider rejects the new method.
Download Authenticator App
Secure your accounts with fast, reliable two-factor authentication. Download now and protect your login in seconds.
💡 Discover Helpful Guides
Email Authenticator: Complete Guide to Secure Email Authentication
How to Add Email to Authenticator App Using a QR Code
Request a fresh enrollment code
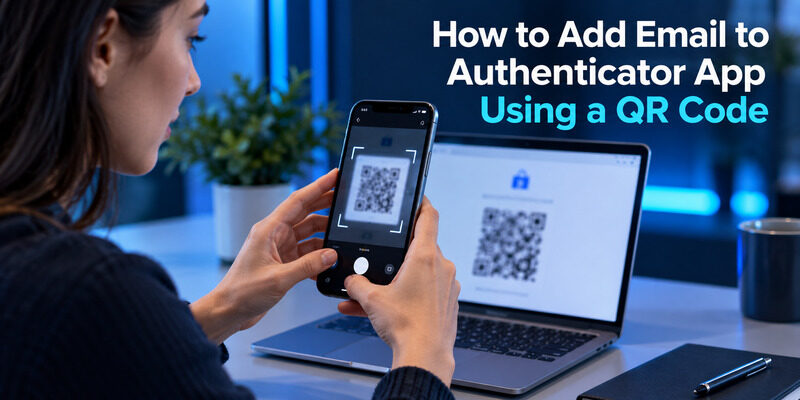
In the provider’s security settings, choose the authenticator enrollment option and complete any required reauthentication. The resulting QR code contains setup information for that account. It is different from a QR code used for a one-time login or a generic link to download an app.
For how to add email to authenticator app with a QR code, use the code displayed by the account’s own enrollment flow. Do not scan an unsolicited code from an email claiming your mailbox needs urgent repair. Open the provider independently to verify whether a security change is actually required.
Scan and identify the new entry
1. Open the authenticator’s add-account or scan option.
2. Frame the provider’s enrollment QR code on the other screen.
If the app asks for camera access, grant the permission needed for scanning. Move the phone slightly farther away if the image will not focus, and reduce glare on the display.
Identify the newly enrolled account
Check the account label after scanning. When several similar entries exist, distinguish the new one before entering any code into the provider’s confirmation screen. Understanding how to add email to authenticator app includes recognizing which entry belongs to the current enrollment. Do not delete an older working entry simply because the new one looks more recent; first establish which secret the account accepts and whether the provider has replaced the previous enrollment.
📘 Find the Right Guide: Email Authentication Outlook: Setup and Recovery
Enter a Manual Key When Scanning Is Impractical
Copy the provider’s setup secret
If the QR code appears on the same phone you are using, look for the provider’s manual-entry or cannot-scan option. It should reveal the setup secret and any required account details. Enter that secret into the authenticator’s manual setup flow, following the provider’s instructions for the code type.
A guide to how to add email to authenticator app should never substitute your mailbox password for this secret. The secret is enrollment material shared with the authenticator; the normal password and the changing verification code serve different purposes. Copy carefully and avoid adding spaces that are not part of the expected format.
Protect the key during the handoff
Keep the key out of ordinary email messages, public screenshots, and shared notes. If you copy it through a clipboard, be aware of clipboard history and devices that synchronize clipboard contents. Use the minimum exposure needed to complete the setup.
When explaining how to link email to authenticator app, the key is the part that creates the code relationship. The email label only helps identify it. If a provider does not offer manual enrollment, follow its supported scan or account-registration route instead of inventing a key. Learning how to add email to authenticator app on one screen is mainly about finding that supported handoff, not bypassing the provider’s required registration process.
💡 Discover Helpful Guides: Email 2FA: Protect Your Inbox and Understand Email Codes
Confirm Enrollment and Test a Real Sign-In
Submit the correct fresh code
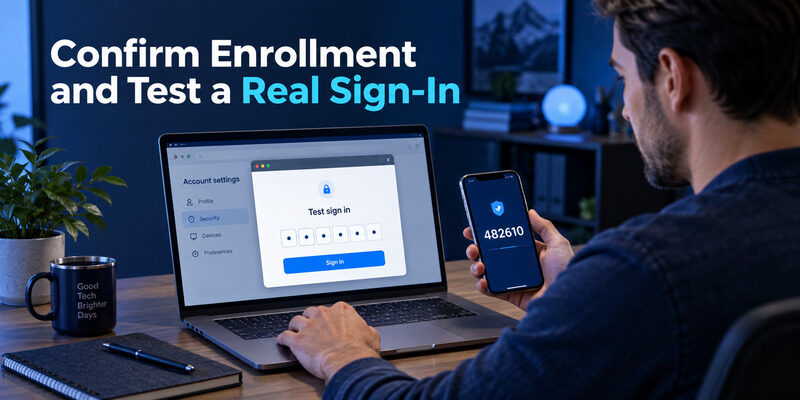
Return to the provider’s setup screen and enter a current code from the newly added account entry. Wait for the next code if the timer is nearly finished. A late submission can fail even when the underlying secret is correct, so give yourself enough time to type without rushing.
The decisive step in how to add email to authenticator app is the provider’s confirmation. A code list on the phone does not prove enrollment succeeded. Read the completion message and review the registered method in the account security settings before closing the original page.
Test while keeping the original session
Use a separate browser session for the test and keep the working settings session open. Select the verification method that corresponds to the new enrollment. Trusted devices or existing sessions may skip a challenge, so a familiar-browser success may not exercise the method you just added.
| What you observe | What it proves | Next action |
|---|---|---|
| New entry in app | Secret was added locally | Complete provider confirmation |
| Provider confirms setup | Method was registered | Test a new sign-in |
| Correct challenge accepted | Method works for that attempt | Retain independent recovery |
| Familiar session opens | Existing session works | Check a fresh session separately |
For a family member learning how to add email to authenticator app, explain the test before starting it. They should know which phone entry to open and which browser screen receives the code, so the next sign-in does not depend on someone else directing every tap.
A test is also part of how to connect email to authenticator responsibly. Check the account identity after sign-in, then retire obsolete entries only when their replacements and recovery routes are clear.
📘 Find the Right Guide: Email Authentication Failed Fixes for Login and Sending
Follow Gmail and Personal Microsoft Variants
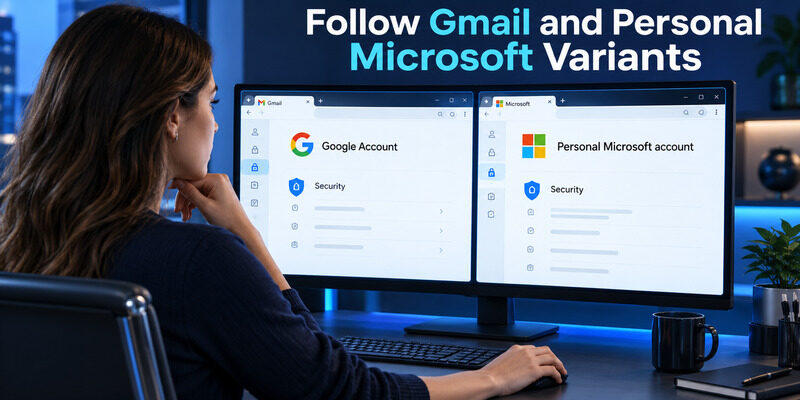
Gmail uses the owning Google account
For Gmail, open the security settings of the Google account that owns the mailbox and use its 2-Step Verification authenticator enrollment. Google’s official help describes setting up an authenticator through the account settings. Check the full profile address first if the browser contains several Google identities.
How to add email to authenticator app for Gmail does not mean adding an inbox inside the authenticator. The app generates verification codes for the account; Gmail remains the place where you read messages. Keep that distinction in mind when a mail client later asks for OAuth authorization or a separate app credential.
Personal Microsoft accounts have their own flow
Microsoft’s official Authenticator documentation describes personal-account security settings and an option for using a different authenticator app where available. Follow the code-based enrollment when that is the method you need. A Microsoft push approval or passwordless phone sign-in is a different flow from a generic rotating code.
The provider variant matters in how to add email to authenticator app because similar-looking QR codes may register different capabilities. Use the account type and method named by the current screen. If a setup asks for specifically to approve a notification, do not assume a general code app can replace that request. Choose a standard code option only when the provider offers it for the intended account.
Add Work Email Under the Organization’s Policy
Use the work or school registration page
For how to add work email to authenticator app, begin with your organization’s security registration instructions. Microsoft work and school accounts commonly use a Security info registration flow; Google’s managed accounts use the methods permitted by the Workspace administrator. The available choices belong to the organization, not just the phone app.
Microsoft Support explains that work-account Authenticator setup depends on the organization’s enabled methods and policies. If registration is blocked, ask the help desk to confirm your sign-in name, permitted method, and required device state. Creating a new personal account with a similar address will not enroll the work identity.
Distinguish code support from approval support
A work account may require notification approval, device registration, or another policy-controlled credential. A generic TOTP app can satisfy only a standard code enrollment that the organization accepts. This boundary is central to how to add email to authenticator app for business access.
If your question is how to set up email on authenticator app after receiving a new job account, complete the employer’s onboarding sequence in order. Do not delete a previous registration until the help desk confirms the replacement path. Keep personal and work entries clearly labeled, and use the organization’s recovery process when the device is lost. A work method is not fully tested until it passes the access policy for the actual mailbox or application you need.
💡 Discover Helpful Guides: Passwordless Email Authentication With Magic Links and Codes
Fix a Missing QR Code or Rejected Setup
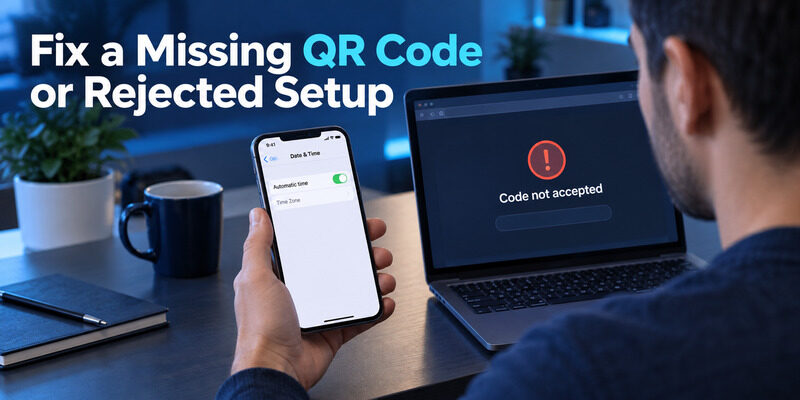
Locate the enrollment step
A missing QR code can mean that you are looking at account details rather than the authenticator registration screen. It can also mean the provider requires another verification step before allowing enrollment. Return to the account’s security controls and follow the supported method-selection flow.
When a search for can t add email to authenticator app reflects a blocked registration, record the exact stage and error. A useful explanation of how to add email to authenticator app distinguishes an unavailable method, an unreadable QR code, and a code rejected after scanning. They are different problems with different next steps.
Check the account secret and clock
If a generated code fails, verify that it comes from the correct entry and current enrollment. A stale setup page can display a secret that no longer matches the active attempt. Start a new enrollment only through the provider’s supported process, and keep any still-working method available.
Check the phone’s automatic time settings and wait for a fresh code before submitting. Do not reinstall the authenticator as the first response to a failed confirmation; that can remove useful entries without fixing the cause. How to add email to authenticator app becomes easier to troubleshoot when you note whether scanning worked, whether the code changed, and what the provider rejected. Share only redacted error details with support, never the QR code or manual secret.
💡 Discover Helpful Guides
Google Email Two Factor Authentication Setup for Gmail
Remove or Rename Entries Without Breaking Access
How to change email on authenticator app may mean renaming the account label or changing the email address at the provider. Editing a local label does not change the provider’s sign-in identity, and it does not generate a new enrollment secret. Make the intended change in the system that owns it.
The reverse of how to add email to authenticator app is also not simply deleting a label. If the provider still requires a code generated by that secret, removing the app entry can leave you unable to satisfy its challenge. Confirm a replacement method and independent recovery first.
For how to remove email from authenticator app, review the provider’s registered methods and determine whether the old code source remains necessary. When retiring it, follow the account’s supported removal or replacement flow, test the remaining method, and only then remove the obsolete app entry.
A request to delete email from authenticator app does not delete the mailbox itself. However, synchronized code storage can propagate an entry deletion across devices, depending on the app. Check that behavior before confirming. Anyone learning how to delete email from authenticator app should keep account removal, local entry deletion, and cloud synchronization effects distinct. Preserve the entry until the provider no longer depends on it and the remaining route has been tested.
📖 Explore Articles: How to Add Email to Authenticator App With QR or Manual Setup
Keep a Recovery Route Beyond the Main Phone
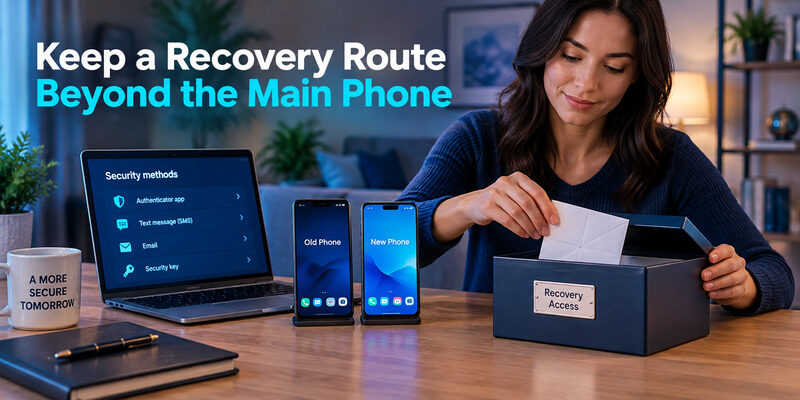
A successful answer to how to add email to authenticator app includes what happens when the phone is unavailable. Save the provider’s recovery codes or another enrolled method where you can reach it without unlocking the same mailbox. An untested backup stored only behind that mailbox’s sign-in is not independent recovery.
If you need to know how to log into email without authenticator app after losing the device, start with the provider’s already configured alternatives. A working session, saved recovery code, registered credential, or organization help desk may help according to the account’s rules. Installing an empty replacement app does not reconstruct the secret from your address.
can generate standard verification codes after you enroll an account using the provider’s QR or manual key. It is a practical choice when that supported code method fits your account. It does not recover an unknown secret, override a work policy, or receive every provider’s approval notification.
Before replacing a phone, revisit how to add email to authenticator app for the transfer or re-enrollment path your provider and app actually support. Test the new device before erasing the old one, then remove obsolete access deliberately. Keep the recovery plan current when changing addresses, leaving a job, or retiring a device so a routine hardware change does not turn into an account recovery emergency.
Final Thoughts
The essential sequence in how to add email to authenticator app is provider enrollment, QR or manual-key entry, code confirmation, and a tested sign-in. The account address helps you select the right entry, while the setup secret creates the working code relationship. Neither installing an app nor typing a label completes that process alone.
Use the method offered by the actual provider and account type. Gmail, personal Microsoft accounts, and organization-managed mailboxes can present different registration flows. A standard rotating-code app is useful where that method is supported, while provider-specific approvals and work policies require their own accepted setup.
Keep the original session and independent recovery available while testing. If a code fails, check the account entry, active enrollment, and phone time before deleting or reinstalling anything. Understanding how to add email to authenticator app also makes removal safer: replace the provider’s method first, test what remains, and retire the obsolete entry afterward.
Authenticator App can supply the standard codes for an account you properly enroll. Confirm that the provider accepts them, then maintain a recovery route that survives a missing phone. With the account identity, secret, and recovery plan kept distinct, the setup remains understandable when you add a second mailbox, rename an entry, or move to another device.